About material inventory adjustments
Learn about material inventory adjustments and how they calculate your real-time inventory and stock costs.
Trying to figure out where your stock levels went? Material inventory adjustments give you a complete, auditable history of every stock change — so you can trace exactly what happened and when.
In this article, we'll cover:
- What is a material inventory adjustment?
- Automatic adjustments
- Manual adjustments
- Starting adjustments
- Viewing adjustment histories
- Adjustment Categories
- Exporting your adjustment history
- Troubleshooting issues
- FAQ
What is a Material Inventory Adjustment?
An adjustment is created whenever a material's stock level changes. This provides a fully auditable history of all stock changes for every material in your inventory and is how the app calculates your current stock levels and costs.
Adjustments can be either automatically or manually created.
Automatic adjustments
Situations where an adjustment will be automatically created are:
- Purchase adjustments: When a purchase is added for a material, an adjustment will be automatically added to increase your stock by the purchased amount;
- Manufacture adjustments: When a manufacture is added for a material, an adjustment will be automatically added to decrease your stock by the used amount;
- Stocktake adjustments: When a stocktake is performed for a material, an adjustment will be automatically added for any difference between expected and actual stock;
- Starting adjustments: When a material is created, a starting adjustment will also be created to represent the starting stock quantity and cost on the account start date.
Manual adjustments
It is also possible to add manual adjustments where required. This should only be done if the stock cannot be accounted for via the methods above. For example, if you had an unexpected breakage of a quantity of materials, adding an adjustment to remove the stock from your inventory would be the best way to handle this situation.
Stock should not be added to the system using inventory adjustments unless there is a valid and specific reason to do so — as the stock is unaccounted for, it will remain uncosted and could contribute to lowered manufacturing costs.
In this section, we will cover:
Adding a manual adjustment for a material
To create a stock adjustment for a material:
- Go to your Material's summary page.
- Click the Adjustments tab.
- On the page that appears, click the Add Adjustment button.
- Complete the details for the adjustment being made on the form that appears.
Changing a manual adjustment for a material
To edit an existing adjustment for a material:
- Go to the material you wish to edit the adjustment for.
- Click the Adjustments tab.
- On the page that appears, hover over the vertical ellipsis (⋮) next to the adjustment, then click the Edit Adjustment option in the menu that appears.
- On the form, modify the details for the adjustment being made.
- Click the Save button.
Removing a manual adjustment for a material
To delete an existing adjustment for a material:
- Go to the material you wish to remove the adjustment for.
- Click the Adjustments tab.
- On the page that appears, hover over the vertical ellipsis (⋮) next to the adjustment, then click the Remove Adjustment option in the menu that appears.
- Review and confirm you wish to remove the adjustment by clicking on the Yes, Remove button on the page that appears.
Starting material adjustments
An important type of material adjustment is a Starting Adjustment. This is a one-off adjustment to handle any stock you had on hand and their cost on your account start date.
It is automatically added when a material is created or imported.
In this section, we will cover:
Adding a starting adjustment for a new material
To add a starting adjustment for a material:
- Follow the instructions to add a new material.
- On the add material form, complete the Starting Adjustment and Average Unit Cost fields under the Starting Adjustment heading.
Changing a starting adjustment for an existing material
1. Go to your Materials list page and select the material you wish to edit.
2. Select the Adjustments tab.

- On the page that appears, scroll or page to find the "Starting" adjustment.
- Hover over the vertical ellipsis (⋮) next to the adjustment, then click the Edit Adjustment option in the menu that appears.
4. Enter the unit price and quantity in the form that appears.
5. Click Save Inventory Adjustment to confirm your changes.
The average unit cost of your starting stock is the cost of the material per tracking unit you're initially bringing into the app. From that point onward, the system will automatically update and calculate the material cost based on your recorded purchases.
To get this number, divide the total amount you paid for the material by the total amount of materials received.
Let's say you bought 8 oz of material for $5.00, plus $1.00 in shipping. The total cost would be $6.00, and the average unit cost would be the total cost ($6.00) ÷ total quantity (8 oz) = $0.75 per oz.
Viewing material adjustment histories
If you're looking to review when and how a material was used, a helpful place to check is the Adjustments tab. This log shows all changes to your material quantities, whether they were used in manufactures, manually adjusted, or restocked through a purchase.
It's important to regularly check your material adjustment history to identify any discrepancies or possible data entry issues.
Viewing the adjustment history for a material
To view a list of all adjustments (both automatically created and manually created) for a material:
- From the Material list page, click on the name of the material you want to view.
- On the page that appears, click the Adjustments tab.

Viewing the complete adjustment history for all materials
Your Material Adjustments page contains all inventory adjustments for materials. For further analysis, you can view, paginate, and export your adjustments on this page.
To find your material adjustments page:
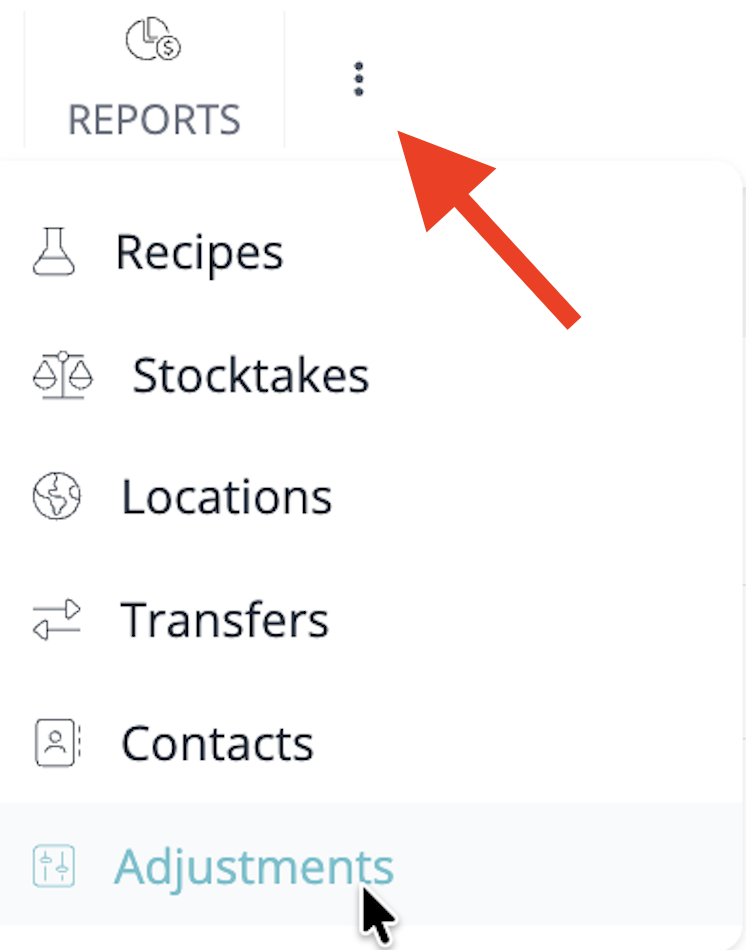
-
Hover on the vertical ellipsis (⋮) option in the top navigation bar, then click on the Adjustments option in the menu.
-
Select Material Adjustments on the page that appears.

- The page that appears is your material adjustment history.


What the Status column shows
Each row in the Material Adjustments list includes a Status column with a circular coloured badge:
- Green badge (clipboard icon) — stock was on hand when the adjustment occurred.
- Red badge (clipboard icon) — stock was zero or negative at the time of the adjustment.
- Grey badge (clipboard icon) — a zero-quantity starting adjustment.
- Green badge (box icon) — purchase was received into inventory.
- Grey badge (box icon) — purchase has not yet been received into inventory.
The Qty column also shows directional indicators: a green up-caret next to positive quantities and a red down-caret next to negative quantities, so you can quickly spot increases and decreases at a glance.
Material Adjustment Categories
When logging a material adjustment in the app, you'll be prompted to select or create a category. These categories are a helpful way to organise and explain why a manual increase or decrease is being made to your raw material inventory.
Categories are important for:
- Tracking materials removed for reasons outside normal production
- Identifying patterns like frequent waste or spoilage
- Ensuring your Schedule C report accurately reflects materials used for personal purposes
A default category called Personal Use is included, which is tied directly to your tax reporting. You can also create your own categories to match your workflow.
Exporting your adjustment history
You can export some or all of your material adjustment history via the Export feature.
To export your material adjustments:
- Go to your Material Adjustments list.
-
Click the Export icon on the footer of the page.

- Once the file has been generated, it will be available for download in your Notifications area.
- Click on the Download export link to download the file.

Your Material Adjustments export file contains the following fields:
| Date | The date the inventory adjustment was made. |
|---|---|
| SKU | The unique identifier (Stock Keeping Unit) for the material. |
| Material Name | The name of the material being adjusted. |
| Quantity | The total quantity adjusted. |
| Unit Price | The unit price for the adjustment. |
| Actual Unit Price | The actual unit price for the adjustment. |
| Reason | The reason for making the adjustment. |
| Notes | Any additional details or context provided for the adjustment. |
| Adjuster | Action that triggered the adjustment. |
| Category | The category assigned to the adjustment. |
| Material Category | The specific category within the material categories. |
Troubleshooting issues
Sometimes, you'll find that your adjustments are not costing as you expect them to. When this occurs, please refer to our article on how to troubleshoot common material adjustment issues for detailed guidance on how to resolve.
Material adjustment FAQ
Below are some common questions and answers about material adjustments:
Can I bulk edit the material starting adjustment?
Yes, you can bulk edit starting adjustments for your materials. To help with this, we have a step-by-step guide that walks you through the process: Updating materials via CSV.
Need more help?
Still have questions about material inventory adjustments? Please get in touch and we'll be happy to help. You may also find these articles useful: