About Listings
Link listings to products for accurate sales, stock, and cost tracking
Listings connect your store products to your inventory records in one place, so everything stays in sync without the manual guesswork.
In this article, we'll cover:
- What is a listing?
- Listings vs products
- How listings work
- Locating listings attached to products
- Locating all listings for an integration
- Updating listings
- Moving (relinking) listings
What is a listing?
Listings represent the products you're currently selling on external integrations like Etsy, Shopify, or Square. When you connect an integration, your active listings are pulled in so you can manage and track them in one place.
This helps you keep your product catalogue organised and ensures everything you sell is accurately linked to your inventory and materials.
Listings vs. products
It's important to know that listings and products are different things in the app:
- Listings are the sales listings from your connected integrations.
- Products are the inventory records you create in the app to track what you make and sell.
You can link one or more listings to a product. This is useful if you sell the same item across multiple platforms or in multiple variations — the app will still track everything as one product for inventory and cost purposes.
Example:
Let's say you sell a soy candle in three scents on Etsy and Shopify. You'll have multiple listings, but they can all be linked to one candle product in your account.
How listings work
Each listing in the app is a snapshot of a product as it appears on your integration as of the last data pull.
Listing details
The listing detail page shows the following information:
- Reference — the SKU or code from your integration, with a link to the listing on the channel
- Name — the listing title as it appears on your integration
- State — whether the listing is Active, Draft, or Archived
- Last Updated — when the listing was last updated in the app
- Price — the listed selling price from your integration
- Integration — the channel this listing was pulled from
- Product — the product (and variation) this listing is linked to in the app
Stock stats
Below the listing details, the stats bar shows live stock figures at a glance:
- Available — the current stock count marked as Available in the app
- Last Pull — the stock level last pulled from your integration. A warning icon appears if the data may be out of date.
- Last Push — the most recent successful stock push made to this listing (shown on Indie plan and above if StockPush is configured)
- Next Push — the next scheduled draft push, if one is queued (shown on Indie plan and above if StockPush is configured)
Last Push and Next Push are only visible if your account has StockPush configured and you're on an Indie plan or above.
Locating listings attached to products
- Go to the product currently linked to the listing (How do I find a product page?).
-
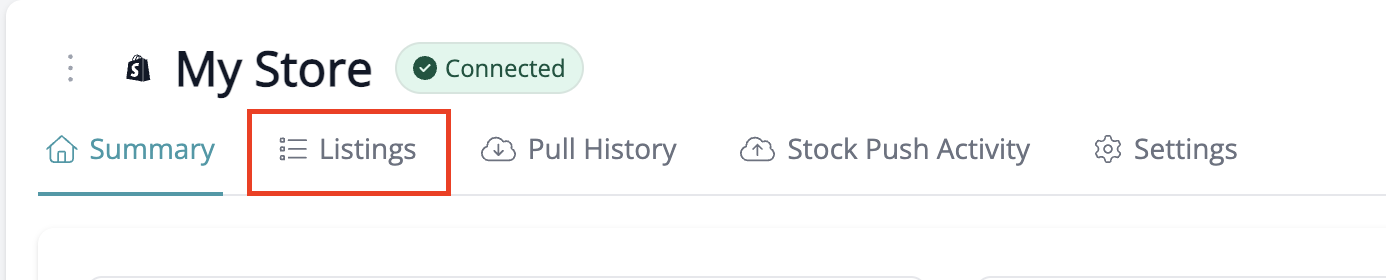
Click the Listings tab.

- Click the listing you wish to view.

Locating all listings for an integration
To view all listings pulled from a specific integration (for example, all products from your Shopify store):
- Hover over your Settings icon in the top right-hand corner of the page:

- Select the Integrations option from the menu that appears.
- Select your integration from the list.
-
Select the Listings tab.
-
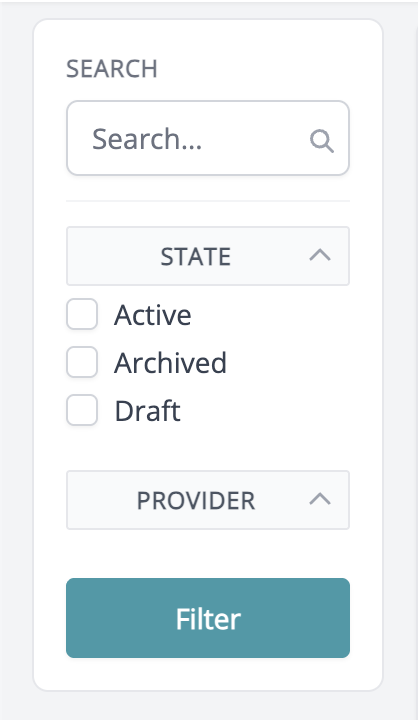
You can click any listing to view it, or use the filters on the left-hand side to search by listing ID, product name, or keyword, and filter by Listing State.


Updating listings
Changes you make to your listing that are not inventory related — like the title, description, or photo — won't automatically update your product or variation in the app.
Because a single product in the app can be linked to multiple listings across different sales channels, you'll need to manually update the product details in the app if you want them to match your store updates.
Moving (relinking) listings
Listings can be moved to different products and or variations. This is useful if your product or variation structure in the app differs from your sales channels.
The move process will move the listing to a new nominated product and reassociate all orders and expenses pulled via this listing.
In some cases, merging products may be a better option as it will also archive the old product once all references have been moved across.
To move a listing to a new product or variation:
Note: If the product or variation doesn't exist in the app yet, you will need to create them first.
- Go to the listing you wish to move. See Locating listings attached to products above for how to find a listing.
-
Click the Move button in the top right-hand corner of the page.

-
On the page that appears, confirm that you have selected the correct listing, then choose the new product and variation from the dropdowns.

- Click Save to confirm the move.


Some important information to note about moving listings:
- If the product or variation doesn't exist in the app yet, you'll need to need to create them first and return to the Relink page.
- Any variation attributes linked to the listing will be duplicated on the new product but will not be deleted on the old product. After the move is complete, you must manually merge or delete these if necessary.
Need more help?
Need to know more about how integrations work in the app? Take a look at these articles:
Feel free to reach out to us via support if you have questions on anything not covered above.