About orders
Learn how to enter your product sales into the app.
An order is a set of products you sell to a customer on a single date.
By adding orders, you can automatically deduct your product stock, tally available stock levels, and accurately calculate your COGS.
In this article, we'll cover:
- Orders
- Viewing your orders list
- Viewing an order
- Copying an order
- Marking an order as paid
- Order Line Items
- FAQs
Orders
Your orders can be automatically pulled into the app via one of our supported integrations (fastest and easiest), or you can opt to add orders manually.
When an order is created, the Available stock level for each product will be decreased by the quantity sold.
When the order is shipped, the material cost for the order will be calculated and posted to your inventory adjustments. This will decrease your inventory value and increase your COGS.
Adding orders manually
To add an order manually:
- Navigate to the Orders page
- Click on the Add Order button
- On the form that appears, complete the details for the order
- Click the Save button to confirm your changes
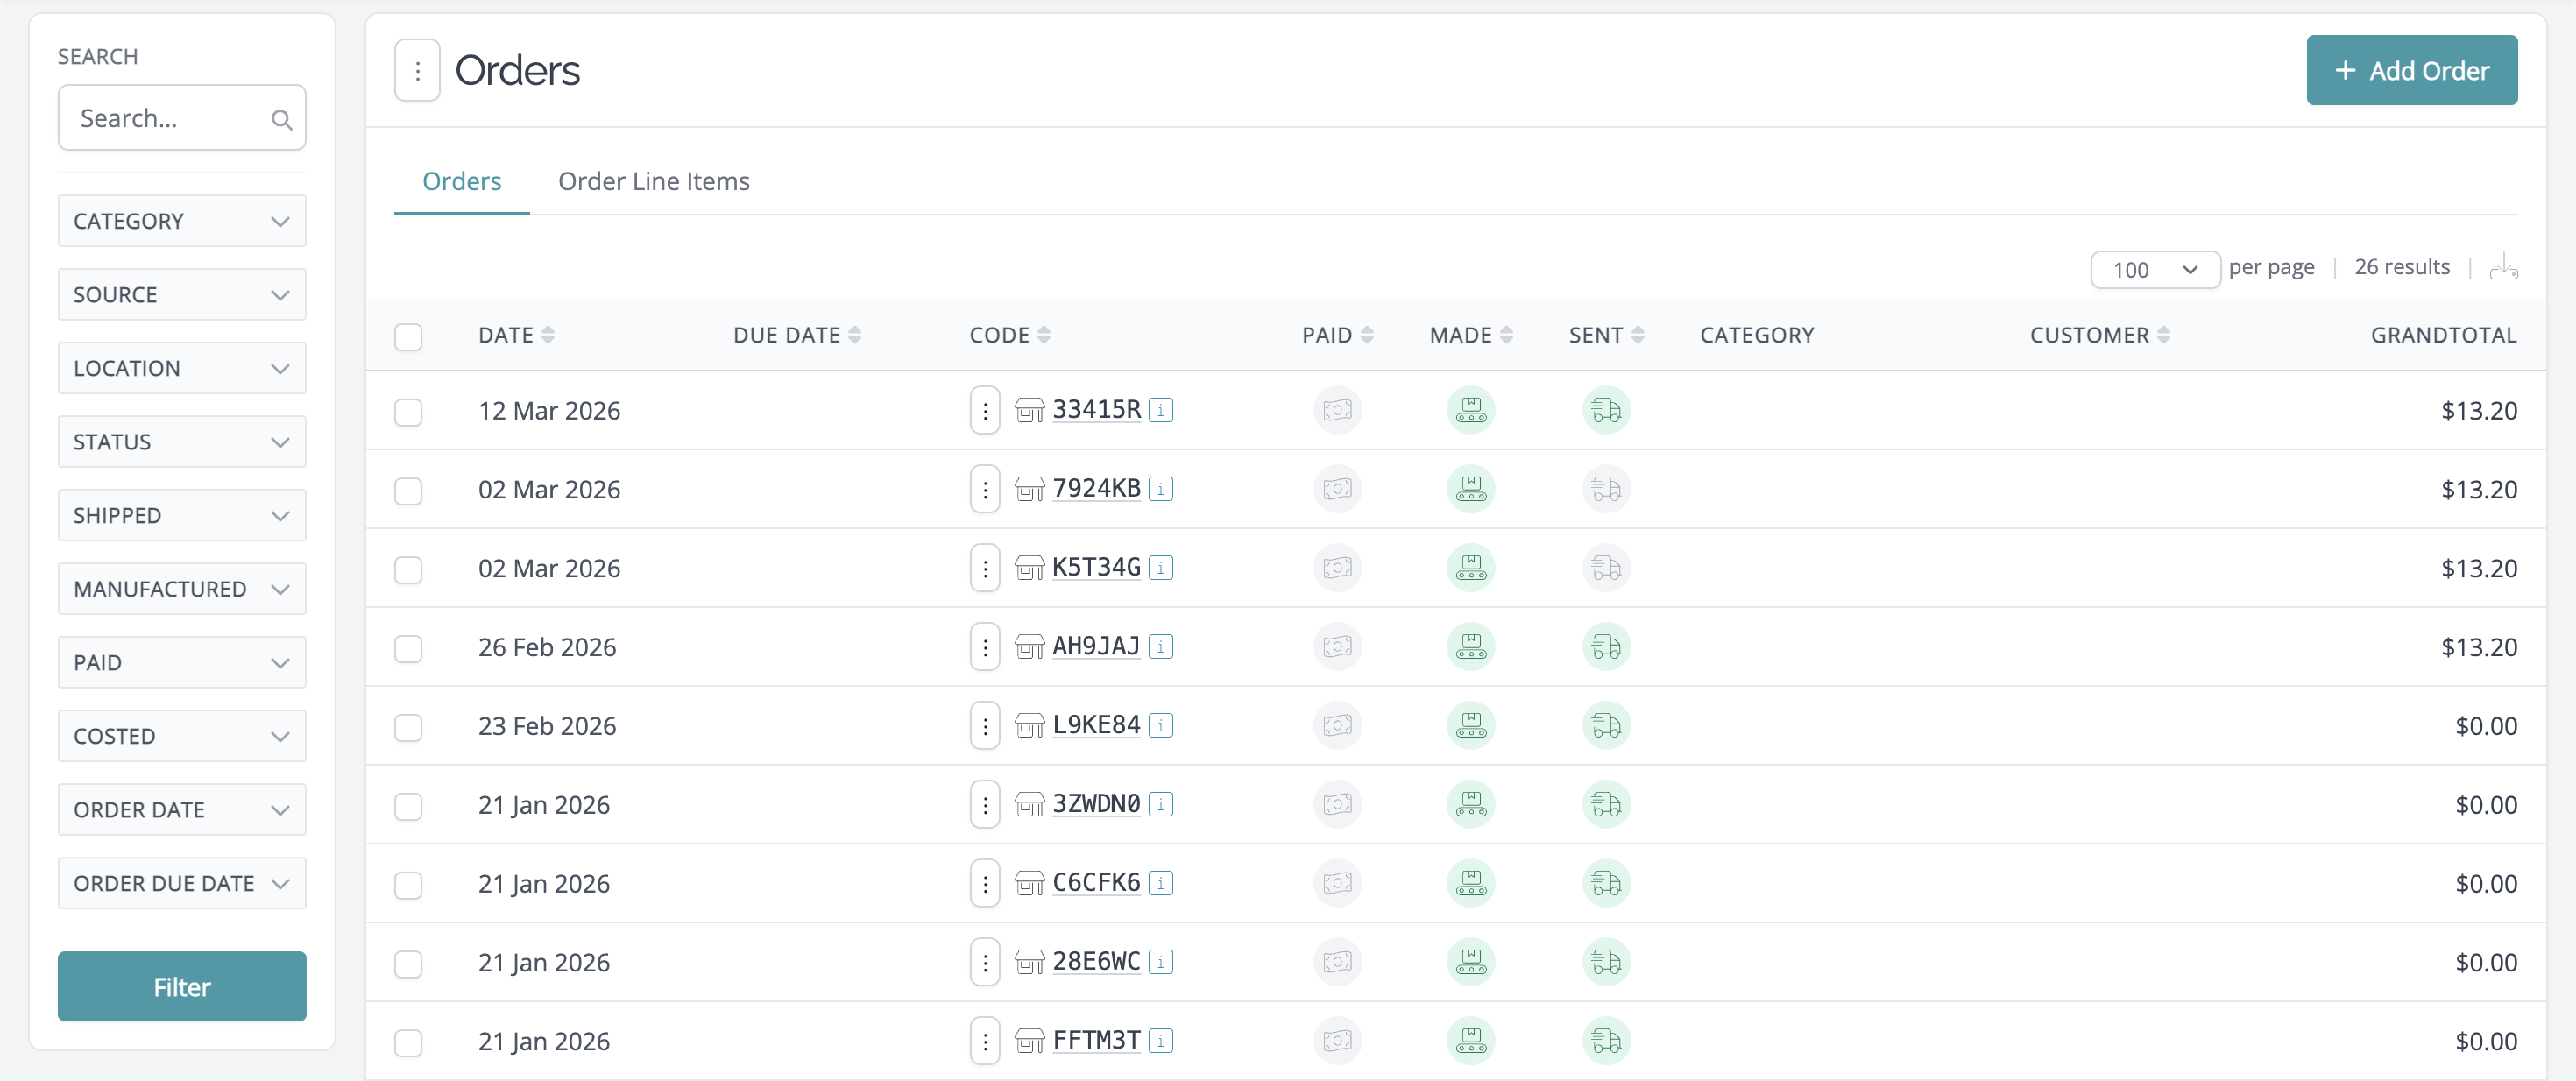
Viewing your orders list
To view your orders list:
- Go to your Orders List page by clicking the Orders tab:

Viewing an order
To view an order:
-
Go to your Orders List page
- Click on the order code link to navigate to your order details page.

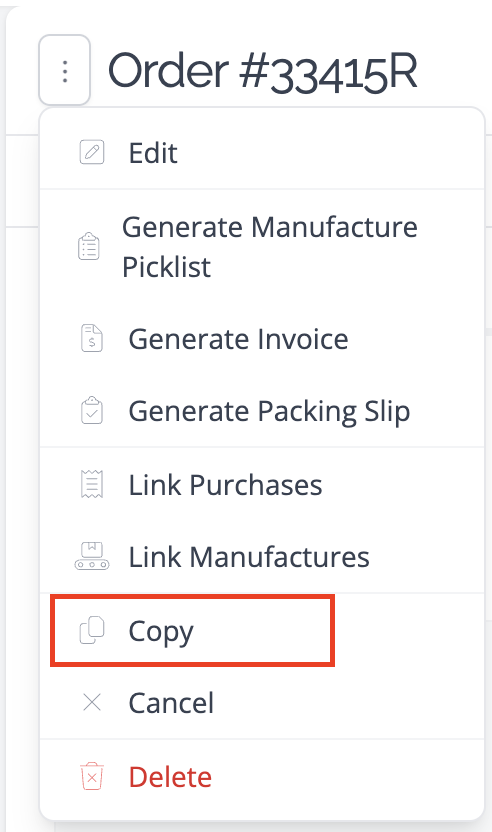
Copying an order
You can use the Copy feature to clone an existing order quickly. This is useful for situations with regular standing orders or similar orders between customers. This can also be used to edit or update orders pulled from a connected integration.
To copy an order:
- Go to your Orders List page by clicking the Orders tab in the top menu.
- For the order you wish to copy, hover your mouse over the ⋮ icon (to the left of the order code).
-
Select Copy Order from the menu options. This will create a copy of the order and take you to the edit form for changes.
- On the form that appears, make any changes required to the copied order.
- Click the Save Order button at the bottom of the page.

Marking an order as paid
All pulled orders will automatically be updated with the Paid status of the order.
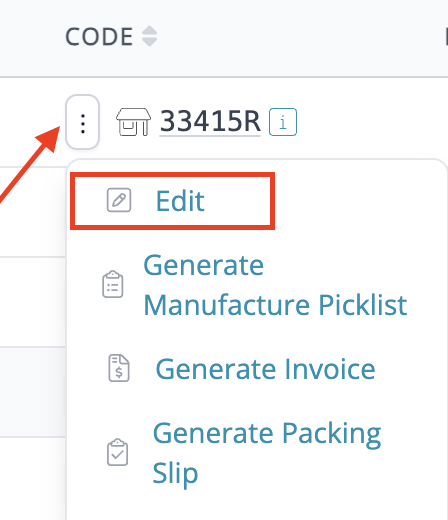
To mark an individual order as paid:
- Navigate to the order
-
Hover your mouse over the vertical ellipsis (⋮) and select the Edit option from the menu that appears.
-
Check the Paid box
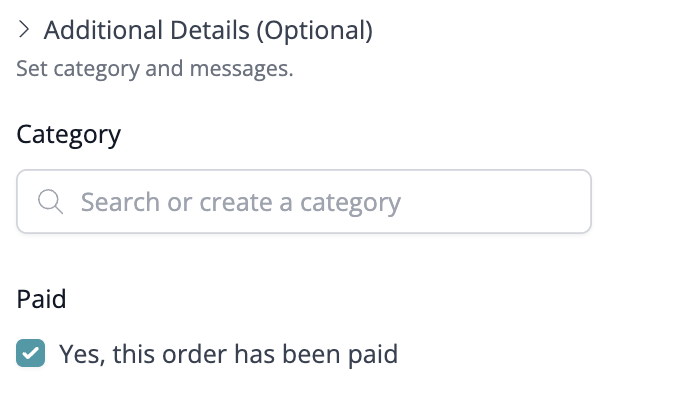
- Click the Save button at the bottom of the form.


To mark a bulk set of orders as paid:
- Navigate to your orders list page
- Next to each order you wish to mark as Paid, tick the checkbox
- Scroll to the bottom of the page and open the dropdown called Batch Actions
- Select the Mark as Paid option
- Click the Update button
Marking an order as Paid will not impact on inventory or COGS calculations. Only the shipped date for the order is required. The paid feature is for your tracking purposes only.
Order Line Items
An Order Line Item is any unique Product you add to an Order as a line item.
Each Order Item’s sale price and quantity are set within the specific Order, while discounts, tax, and shipping are applied at the overall Order level. Individual discounts and shipping costs are not displayed on the line items themselves.
These totals are then proportioned to each order item in the order so that profitability totals can be calculated.
FAQs
Is it possible to bulk upload a CSV file of orders?
At the moment, bulk uploading orders via CSV isn’t supported. Orders are brought into your account automatically through your connected sales channels like Shopify, Etsy, or Square. If you’re working with wholesale or manual orders that aren’t coming in through an integration, these would need to be added one at a time using the Add Order form in your Orders tab.
Is it possible to view ordered products by order date?
To view your ordered products by order date,
- Head to the Orders page from your main menu.
- In the Orders menu, select the Order Line items tab.
- This view will display all products across your orders, including their associated order dates.
From there, you can also filter and search as needed to focus on specific products or date ranges.
Can the app track supplier quantities or prevent overselling?
the app is designed to record all of your orders - even if you don’t currently have inventory on hand. This ensures your sales history stays complete and accurate. If stock isn’t available at the time of sale, the order will still be logged.
While there’s no “oversale level” setting, you can use Low Stock Limits to give yourself an early warning and extra lead time to restock or manufacture before you run out.
Supplier stock levels aren’t tracked in the app - we focus on the inventory you already have on hand. For resale products, you may also want to see our guide here: About Resale Products
Can I add a component to an order?
in the app, components can’t be added directly to an order. Orders are designed to track products sold, while components are used to create those products.
If your goal is to reduce component stock based on an order, this is done through a manufacture. When you create a manufacture for the product on the order, the components listed in that product’s recipe are automatically deducted.