TUTORIAL: Introduction to Consignment
Learn how Consignments work within your account
This article will guide you through how you can use Consignments to track product stock across multiple locations in the app
Consignments allow you to partner with retailers and expand your reach - all while keeping control of your stock. The app makes it easy to manage consigned stock, record sales, and track returns without any confusion.
In this tutorial, we'll cover:
- What's a Consignment?
- Tracking Consignments
- Creating a Consignment Location
- Transferring stock to a Location
- Creating Consignment Pricing Tiers
- Recording Orders from Consignments
This tutorial should take approximately 15 minutes to complete.
What's a Consignment?
A Consignment is a sales arrangement where you supply your products to a retailer who sells them on your behalf. You continue to own the items until they're sold, and the retailer only pays you once a sale is made.
Consignment is tracked using locations, along with a few helpful tools to help you stay organised. This lets you see:
- How much stock is out on consignment
- What has been sold
- What has been returned
- What has been paid for
This ensures you always have a clear view of where your inventory is and how it's performing.
Tracking Consignments
The app's consignment features use four key concepts:
- Locations - Records the details about your consignment locations, such as the name and address of the shop.
- Transfers - Moves stock between different locations (i.e. Your Main Location and an external consignee location)
When a Transfer is created, the stock is removed from your Available inventory totals. This ensures your on-hand stock counts reflect only what is currently under your direct control.
- Pricing Tiers - Set custom price points for products at specific locations
- Orders - Recorded sales made at the external consignee location.
Your default home inventory is called the Main location.
Creating a Consignment Location
The first step is to create a new inventory location for your consignment partner. This allows you to track their stock separately from your main inventory.
Creating a new Location
-
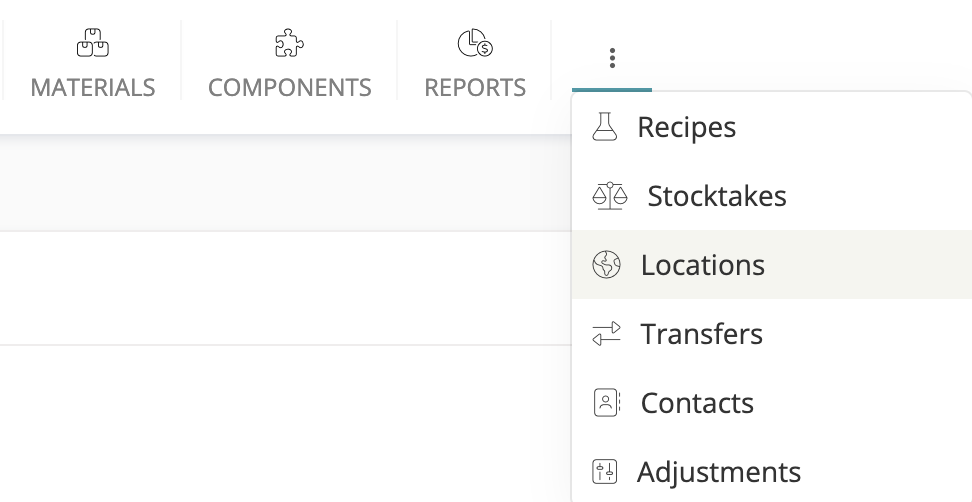
From your menu, hover over the ⋮ icon, then click on Locations from the dropdown menu.
-
Click the Add Location button in the top-right corner.

- This will take you to the Add Location form.


Add Location Form
Let's take a closer look at the fields and options located on this page.
Basic information
- Code: A customizable identifier for this location. This can be edited at any time.
- Name: The name of the location, such as "Bella's Boutique - Consignment".
- Notes: Optional field for any additional information about this location.
- Pricing Tier: Determines the pricing displayed for this location. Choose from your existing pricing tiers.

Address Details
Within this section, you can specify the address for the consignment location. You will find fields such as:
- First Line
- Second Line
- City
- State / County
- Zip / Postcode
- Country (Selectable from a dropdown menu)
Once you've completed the form, click the Save Location button

You can also create new locations directly from the Stock Transfer form
Transferring stock to a Location
Stock is transferred to and from locations using a Stock Transfer.
Creating a new Stock Transfer
-
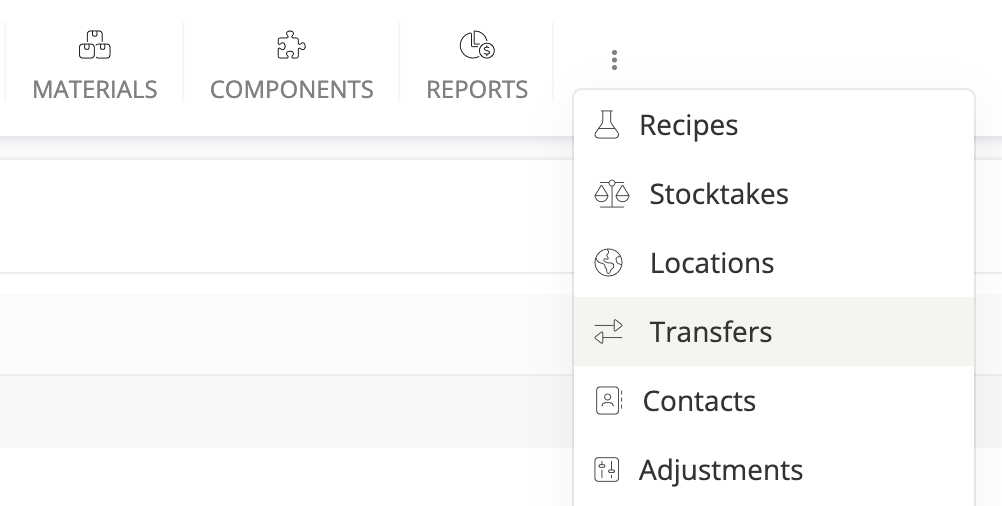
From your menu, hover over the ⋮ icon, then click on Transfers from the dropdown menu.
-
Click the Add Stock Transfer button in the top-right corner.

- This will take you to the Stock Transfer form.


Stock Transfer form
Let's take a closer look at the fields and options located on this page.
Locations
- From: The location you're taking stock from - if you're sending items to a consignee, this will usually be Main.
- To: The location you're moving stock to - when the transfer is saved, the receiving location will display an increased Available quantity.
If you need a new location, click inside the search box and select the + button to add it directly from the transfer form.

Transferred Products
This is where you add the products and quantities being transferred.
- Name: Search for and select a product
- Quantity: Enter the amount being transferred
You can add as many products as needed - click Add Product to insert more rows.

Additional Information
- Transfer Date: The date the stock left its previous location
- Code: Optional reference code
- Notes: Any helpful details for future record-keeping
Once you've completed the form, click the Save Transfer button

Returning stock to Main follows the exact same process. Just switch the From and To fields accordingly.
Creating Consignment Pricing Tiers
If your consignee sells products at a different price than your main sales channel, you can set up a Pricing Tier. Pricing tiers let you create custom price points for one or many locations - and will appear automatically when logging new orders.
How it works:
- Create a new Pricing Tier (e.g. "Consignment")
- Assign that pricing tier to one or multiple locations
- Edit each product to enter a price for that tier
When you record an order for that location, the correct price will load automatically. These prices will also be used in your consignment reporting.

For more information on how to set up Pricing Tiers, feel free to take a look at our related article:
Recording Orders from Consignments
Whenever the consignee sells your stock, you'll want to log an Order for their location. Doing this:
- Reduces the available stock at that location
- Increases the product's sold count
- Applies the correct price if the product has a pricing tier configured
- Ensures revenue reporting is kept accurate

Wrap-Up
That's it! You've successfully set up and managed your first consignment process in the app.
Next, you can:
- Record sales from your consignee to keep your stock and revenue reports accurate
- Create additional locations if you work with multiple consignment partners
- Set up Pricing Tiers to manage unique price points for each location
- Transfer stock back to your main location when unsold items are returned
Want to Learn More?
Check out these related resources to keep the momentum going:
Need Help?
Still have questions about setting up your Locations and Transfers in the app? Please get in touch, and we'll be happy to help.