Importing purchases via CSV
Learn how to import purchases in bulk using our CSV feature.
If you would like to import a large number of purchases, you can do this via uploading a spreadsheet — a step-by-step guide is below:
We'll Cover:
- Downloading template spreadsheet
- Adding your purchases to the spreadsheet
- Exporting your spreadsheet to CSV
- Uploading your spreadsheet
Downloading template spreadsheet
We will need your data in a standard format for our importer to be able to read the information properly, so please download and use our example spreadsheet as a starting point:
Purchase Import Example Spreadsheet
Adding your purchases to the spreadsheet
Remove the example rows and add the purchases you wish to import — you'll want to ensure that you add each one on a separate line.
A quick summary of each column is below:
| Column Name | Description |
|---|---|
| Purchase Date | This is the date you purchased the item. This date can be in the format dd/mm/yyyy, mm/dd/yyyy, or yyyy/mm/dd. It is important that you select the correct date format on the mapping page so that the importer can use the correct format when processing each row. |
| Code |
This is the unique alphanumeric identifier for the purchase (e.g., a purchase order number). If you import a purchase with a code that already exists in your purchases list, this row will be skipped and no data will be updated. |
| Notes | This will be the default name of the line item, so you'll want to make sure it is both short and recognisable. |
| Vendor | This is the name of the business that sold the item. This name will be checked against your current vendor list and if it already exists the purchase will be linked to this vendor. If it doesn't yet exist it will be created for you automatically. |
| Tax | This is the total amount of tax paid for the entire purchase. This should be a number equal to or greater than 0, without any currency formatting. |
| Shipping | The total amount of shipping paid for the entire purchase. This should be a number equal to or greater than 0, without any currency formatting. |
| Discount | The total amount provided in discounts for the entire purchase. This should be a number equal to or greater than 0, without any currency formatting. |
| Grand Total | The total for the entire purchase after tax, shipping, and discounts have been applied. This should be a number equal to or greater than 0, without any currency formatting. |
| Paid | Whether the purchase has been paid. Use true if the purchase has been paid, or false if it has not yet been paid for. |
| Item Unit Price | This is the unit cost of the item purchased. This will be multiplied by the quantity to calculate your total item price. It should be exclusive of tax, shipping, and discounts as these will be applied separately. |
| Item Quantity | The quantity of this item purchased. Required. |
| Item Category | This is the name of the category you'd like the item to be associated with. The importer will check to see if you already have this category in place; if not, it will create a new one for you. |
| Material SKU |
[For material purchases only] The SKU for the material being purchased. The SKU for the material needs to exist in the system, or the row will be counted as an indirect expense, and the inventory amount will not increase for that material. See our Material CSV importer for details on how to bulk upload materials.
Important: When Item Category is set to
Materials, the Material SKU field is required. Rows without a matching Material SKU will be turned into indirect expenses.
|
| Material Name | [For material purchases only] The name of the material being purchased. Optional. |
| Lot Number | [For material purchases only] The lot number for the material batch purchased. |
Exporting your spreadsheet to CSV
Once you have your spreadsheet ready, export it as CSV. The process to do this differs between spreadsheet programs; instructions for some popular programs can be found here:
How do I export a spreadsheet file as CSV?
Uploading your spreadsheet
- Go to your Purchases List.
-
Hover over the ⋮ icon that appears next to the header. Next, select the Bulk Import option that appears in the menu.

-
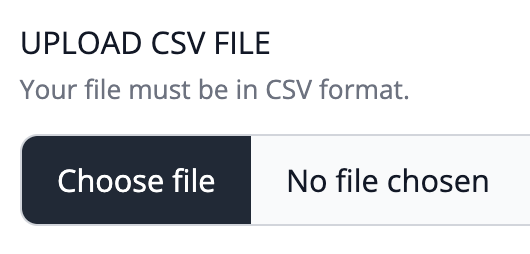
On the form that appears, click the Choose File button and select your spreadsheet from your file system.
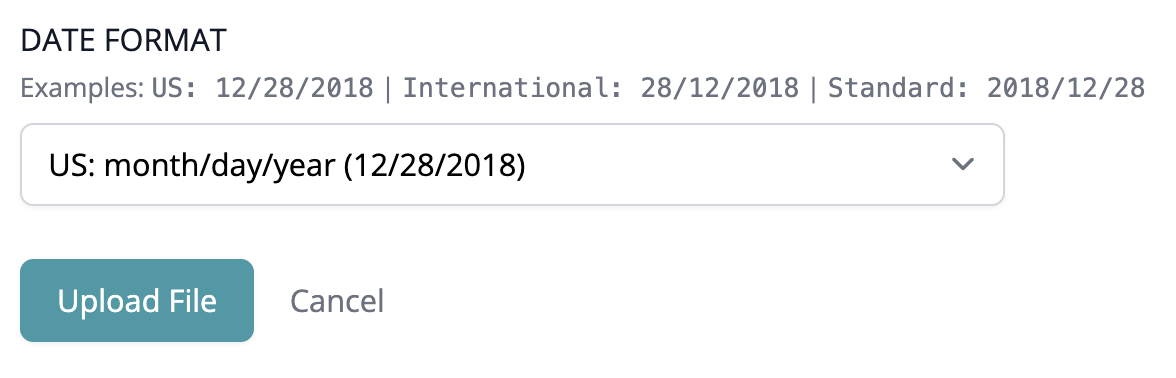
- Select the required Date Format
-
Click the Upload File button. This will upload the file to the app but will not import the data — this will be done in the next step.
-
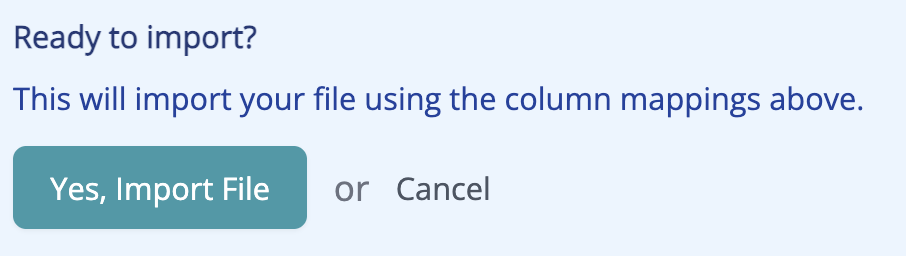
On your Mappings page, you'll need to confirm which field is represented by each column in your spreadsheet if you have changed these from the example spreadsheet above. Once you are happy with all fields, click the Yes, Import File button at the bottom of the page.
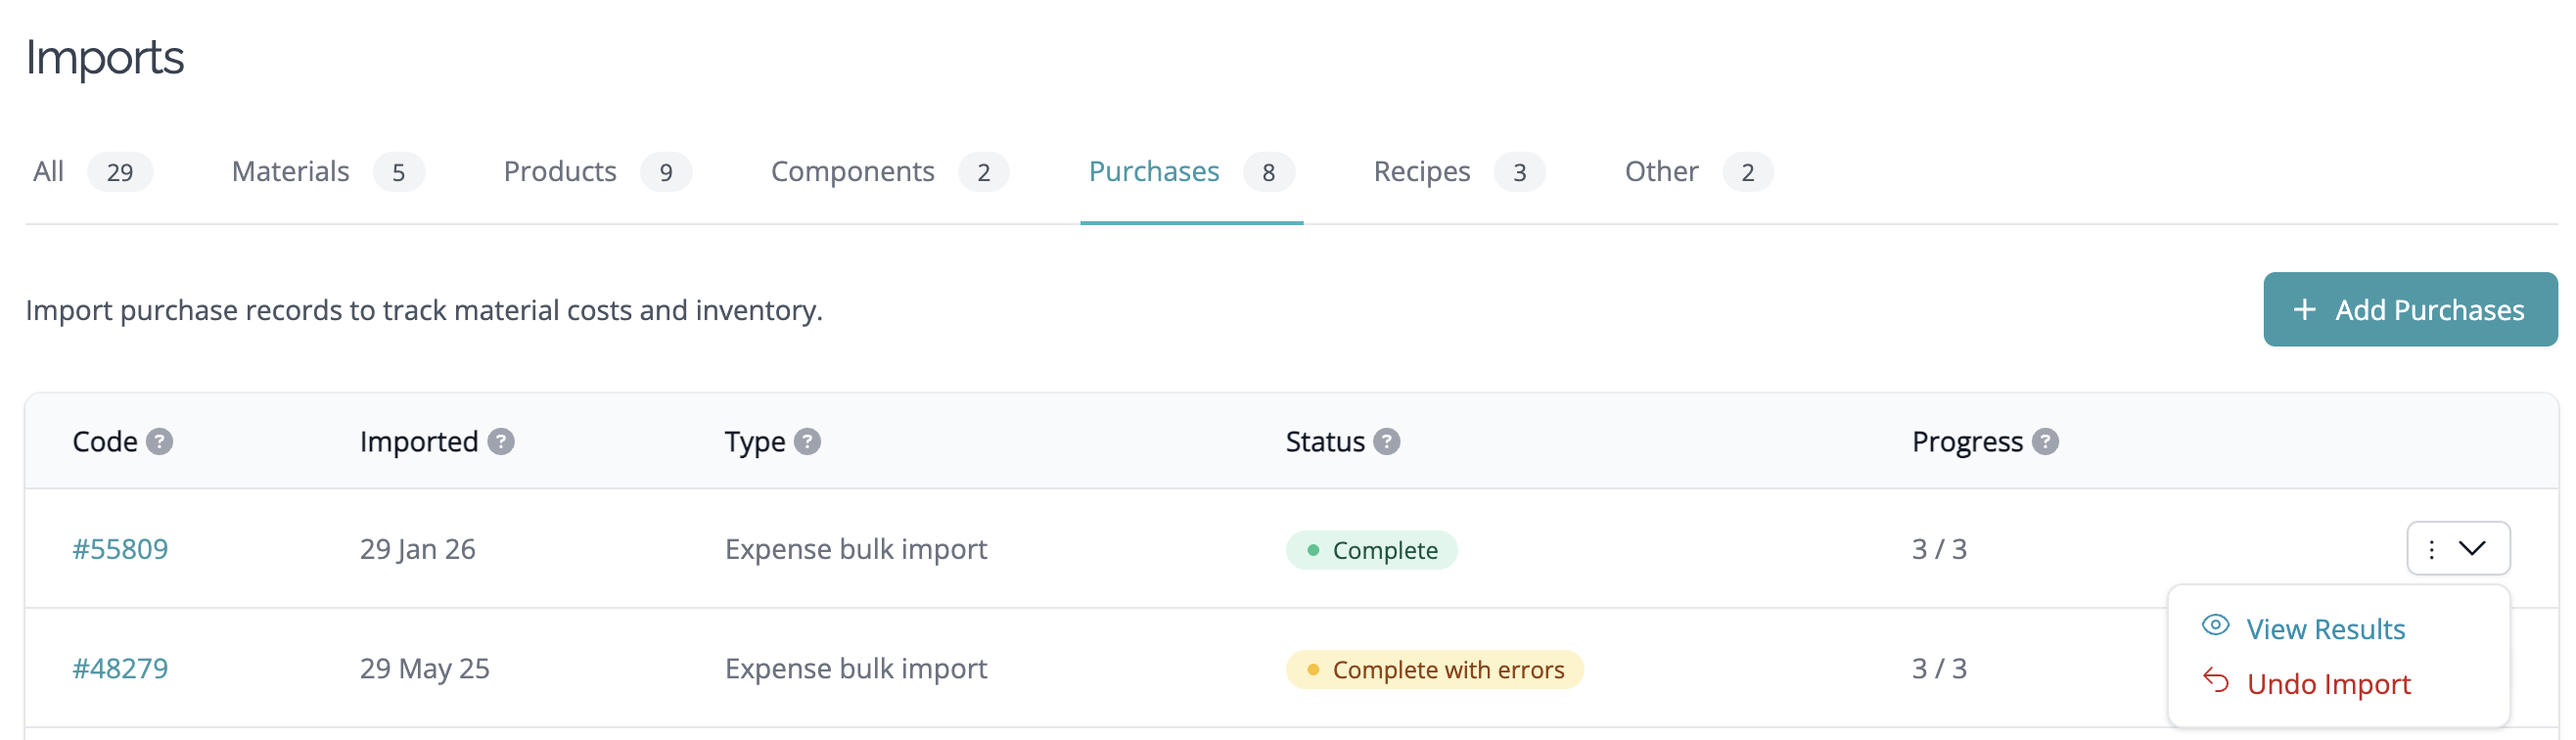
- Your import will begin, and you'll be taken back to the Imports page. You'll see your import status as Importing. Refresh the page to see the updated status — when complete, it will show as Complete.
-
Hover over the ⋮ icon, and select View Results to see which purchases have been imported and details about any skipped rows (if any), as well as the option to undo the import if required.


Alternatively, you can find this page by going to your Imported Files page. (How do I find my Imports page?) Select the "New Import" option and select "Purchases" from the dropdown menu.