TUTORIAL: Introduction to Orders
Let's now track your product sales! An order is a group of products you sell to a customer on a specific date. Once an order has been added for a product or variation, your available stock on hand is decreased automatically by the order quantity. Orders can be manually entered or pulled from your connected integrations (or a combination of both if you wish).
In this tutorial, we'll cover:
- What are Orders?
- Adding Manual Orders
- Order Line Items
- Order totals and payments
- Organizing orders with categories and notes
🕒 Time to complete: Around 20 minutes
What are orders?
An order in the app is a group of products sold to a customer on a specific date.
You can add multiple products to a single order, and once saved, the app automatically adjusts your stock levels based on the quantities sold.
The app offers the ability to connect and download orders from several integrations like Shopify, Etsy, Amazon, and others. If you're only using these integrations, manual entry might not be needed. However, if you sell through other platforms or take offline orders, manual entry will ensure your inventory and sales data remain complete.
Adding manual orders
For this tutorial, we will also be assuming that our product already exists in the app as a product.
To manually add an order, use the Quick Add menu. Click on the + button on the main menu and select Order.

Or go to the Orders tab and click the + Add Order button.

On the add order form, you'll enter:
-
Order code: If you don't add a code here, the app will add a unique incremental number to represent the order.

- Customer details: Here, you can add information about the customer who purchased the product. For a repeat purchaser, select their name from your list, or click the link to the right of the search box to add a new customer.
-
Delivery Address: Here, you can add information on where the order is to be shipped. If the sale was made to an anonymous buyer or delivered in person, you can leave this blank.

-
Location: If this order was placed from one of your locations, specify it here to ensure that stock is deducted directly from this location.

- Order Date: This is the date you first received the order from the customer. You can either type a date here or select from the calendar view.
- Manufactured Date: This is the date the last item in your order was manufactured. If you don't wish to track manufacture dates for orders, this field can be switched off in your account settings at any time.
- Shipped Date: This is the date the last item in your order was sent to your customer. The Shipping Date is an important field as it marks when the manufacturing costs for this order are officially removed from your inventory. You'll want to ensure that all orders are marked with the exact date on which the product was shipped to the customer. If you are linking your manufactures to each order item, you will notice that this date will be automatically set for you via the manufacture information.
-
Due Date: This is the date the order is scheduled to be shipped. If you don't need to track due dates, you can disable this feature anytime in your account settings.


Order line items
The Order line items section lets you add each product to the order.
If you have clicked through to this form via a product page, you'll notice that you already have a line item in place for the product so that you can skip this section.
To add items:
-
Click Add Order Item

-
Use the Search Products field to find and select your product


Once you have your product selected, each line will include:
- An image that represents this product. This image will be displayed on your invoice view.
- Product and variation information to which this order line item is linked.
- Additional Notes, which can be used to add any additional information about the line item. These notes will also be displayed on your invoice view.
- Unit Price will be automatically populated from the Base Sale Price set for the product you have selected. You can, at this stage, modify this to your actual sale amount here if it is different from your default sale price. You'll notice that when you change your unit price, your total price for the order line item will be automatically calculated and updated for you.
-
Quantity field is for the quantity of the product you have sold in this order.
Keep in mind that if you have set your Sale Quantity for this product to be more than one, this quantity will be multiplied by your sales quantity in order to determine the actual quantity and decrease your product stock levels.
For example, Kate has set her Sales Quantity to 2 for her "Soap bar" product as she always sells two together for each sale. When she adds a new order for this product, she will set an order quantity of 1. the app will multiply the Sale Quantity by the Order Quantity to arrive at the actual number sold (1 x 2 = 2). Therefore, 2 "Soap bars" will be removed from her stock when the order is placed.
- Total Price, which shows the total amount payable for this item. This is automatically calculated based on the unit price and quantity entered.
- X button to remove the line item.
Under the order line item list is an Add Order Item button that allows you to add a new row to the list - in this way, you can add as many items as you need to your order.
Order totals and payment
Below the line items, you'll find the Order Totals section. Here you can add amounts that are applied to the entire order. We'll take a closer look at each of the rows located here:
- Shipping: The amount charged to the customer, not the amount you paid to send the order.
- Tax: Your default tax rate will be pre-populated into the form when it is loaded; however, you can change this per order if needed.
- Discount: Any reduction in price offered to the customer. This is optional
-
Order Total: This is calculated as Item Total - Discount + Tax + Shipping


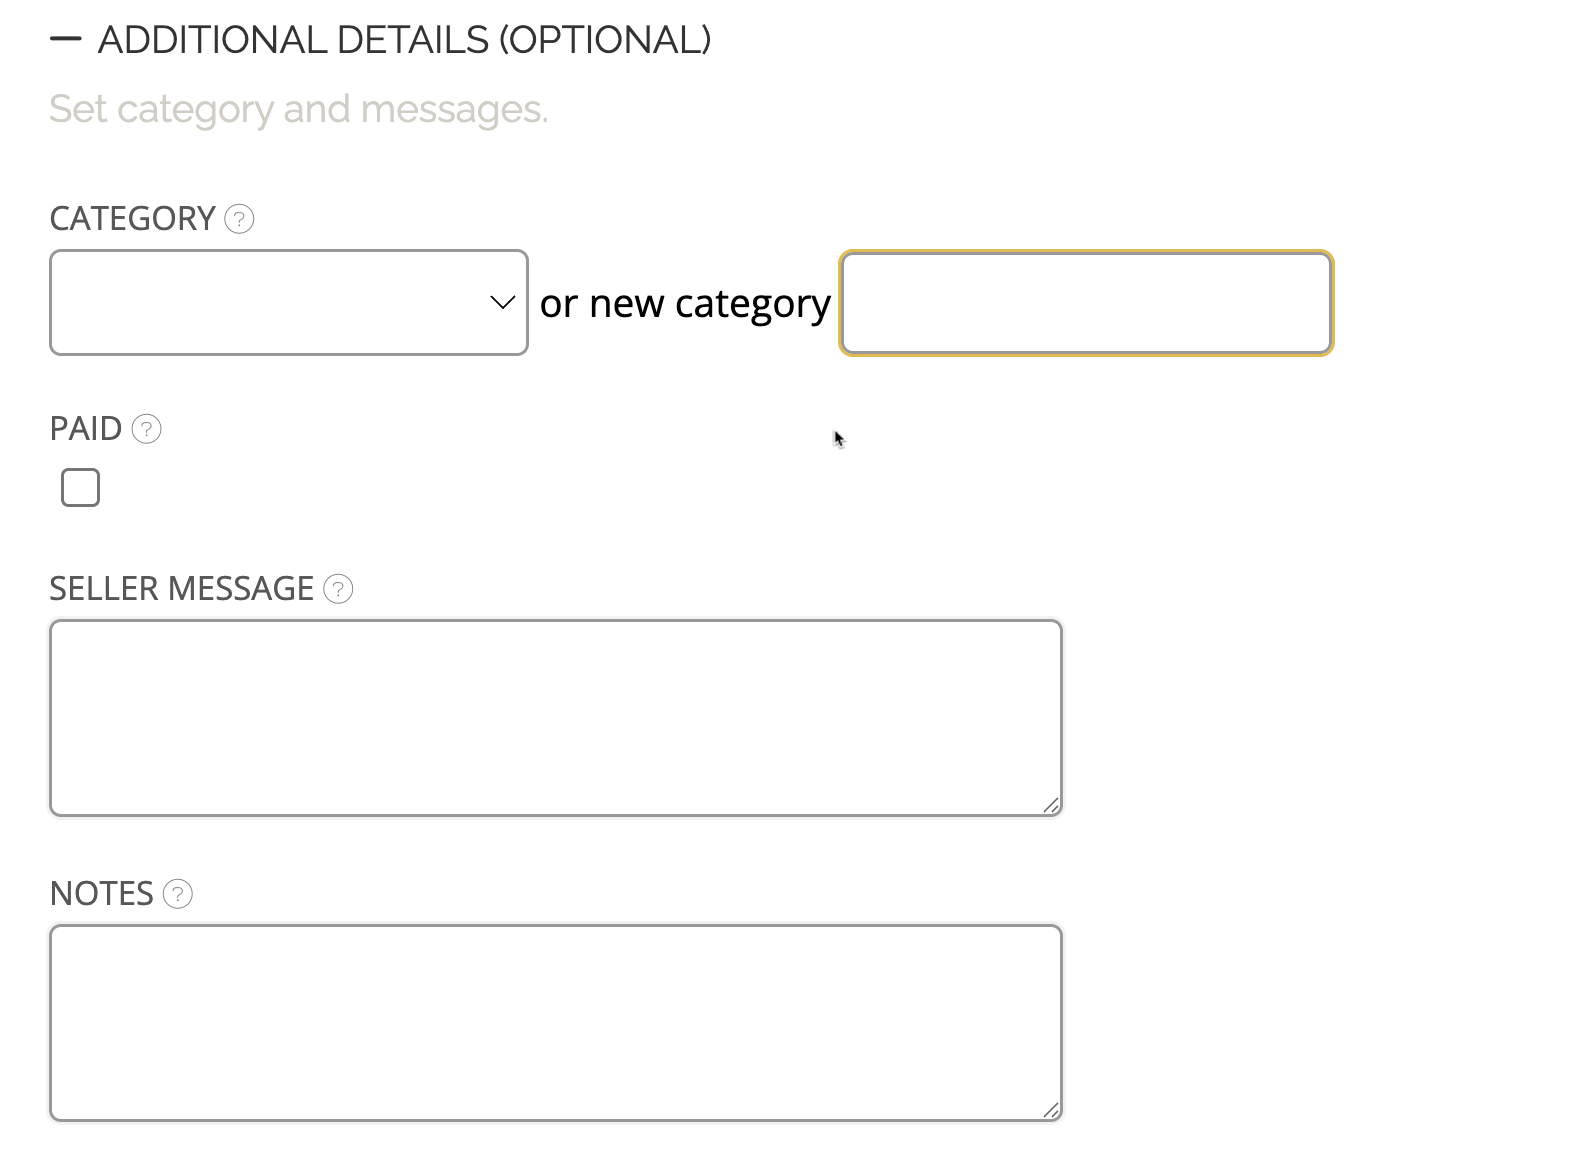
Organizing orders with categories and notes
To provide more segmentation and grouping to your order list. You will find this option in the Additional Details (OPTIONAL).
- Category: You can create custom categories and attach a category to your order using the Category field. Either select from your list of existing order categories or add a new one.
- Paid: This allows you to mark the order as fully paid for by the customer. This has no impact on any of your inventory or reporting calculations and is for your records only.
- Seller Message: Any information added here will be displayed on the invoice
-
Notes: This is for any additional details you wish to add about this order. This information is for internal use and will not be displayed on the invoice view.

Once you've keyed all details to your satisfaction, click Save Order to complete, or Save Order & Add Another if you're entering multiple orders.
Need Help?
If you have questions or need help setting up your orders, feel free to get in touch. We're here to help!